Post by Tom Roberts on May 5th, 2004 at 7:35pm
I thought I would post a few pictures of various PicoScope setup applications.
The PicoScope design lends itself to many different configuration approaches so it can be taylored to specific needs and existing equipment. It never ceases to amaze me how many different ways this equipment is being put to use. ;D
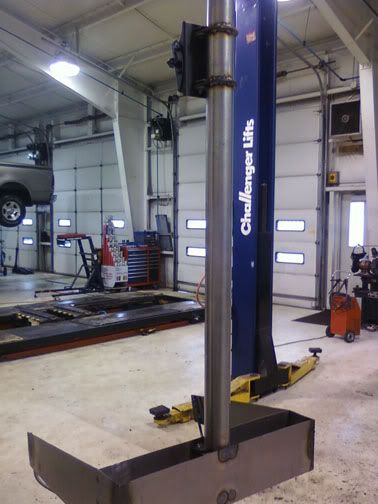
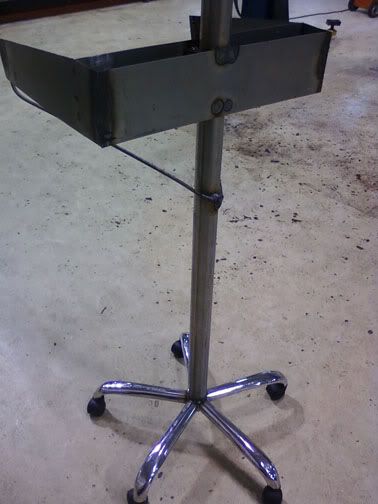
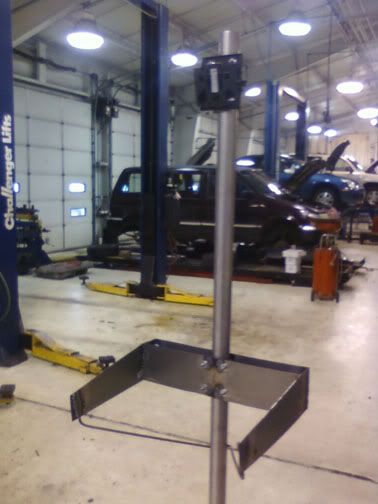
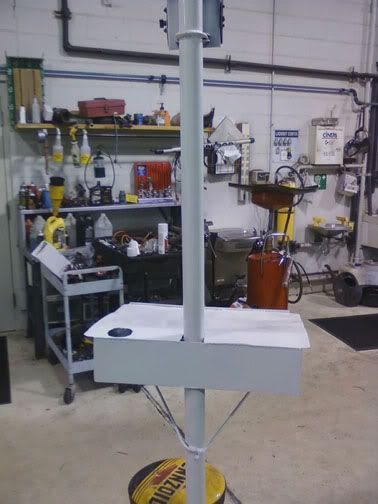
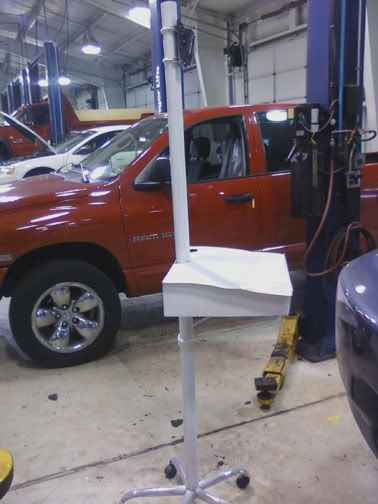
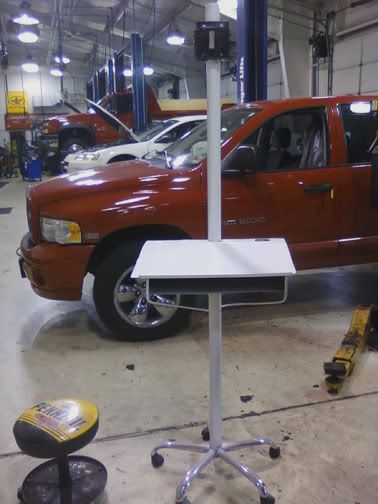
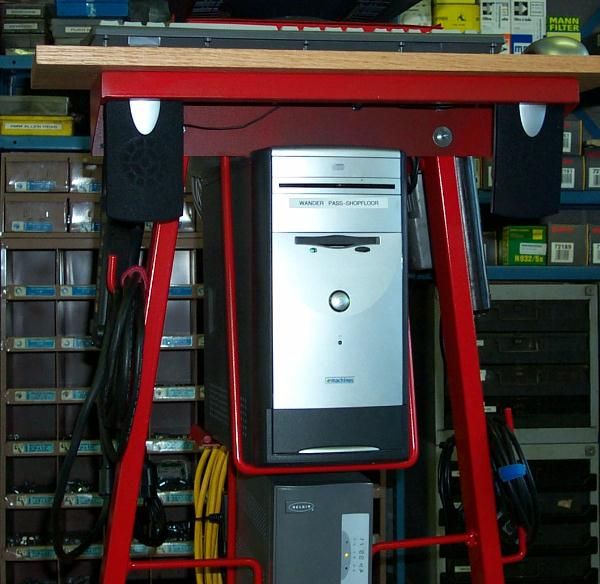
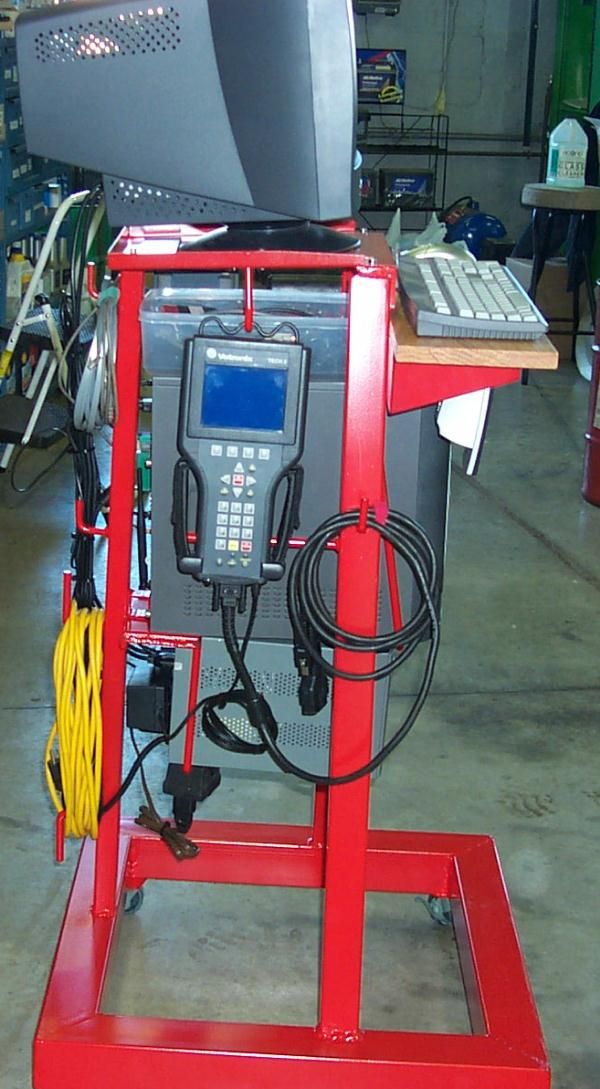
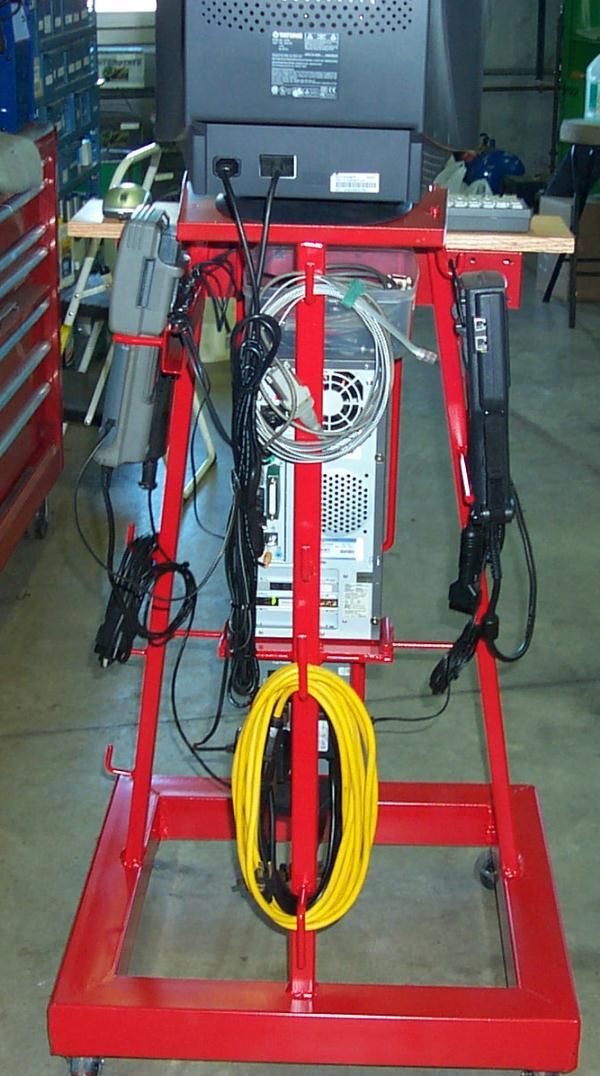
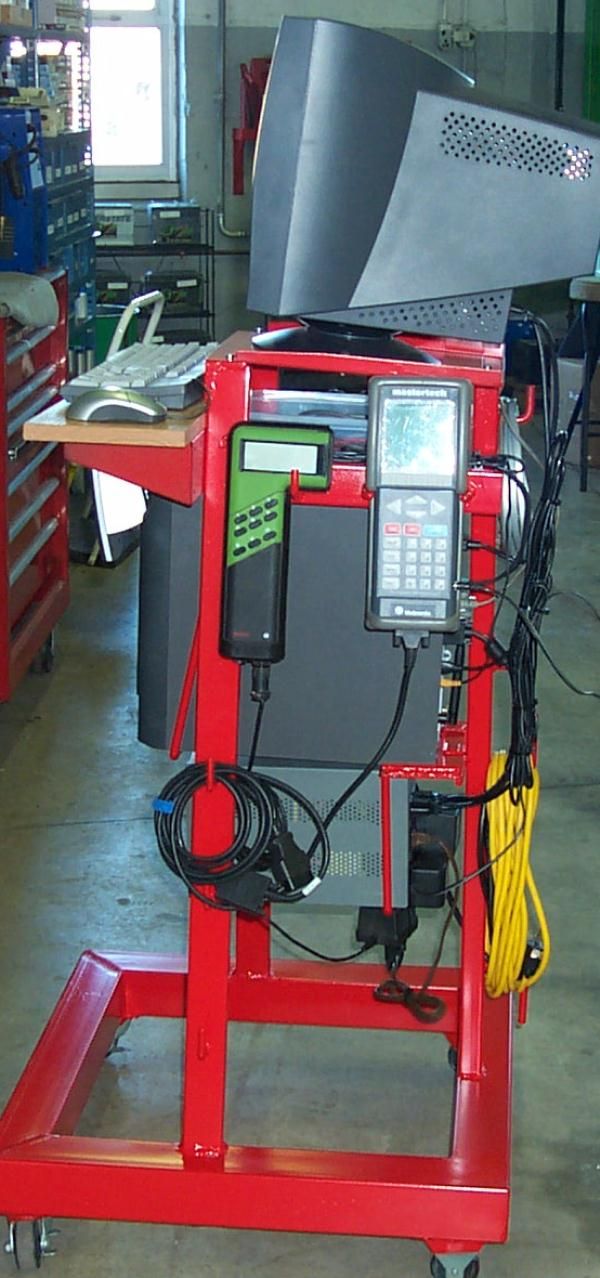
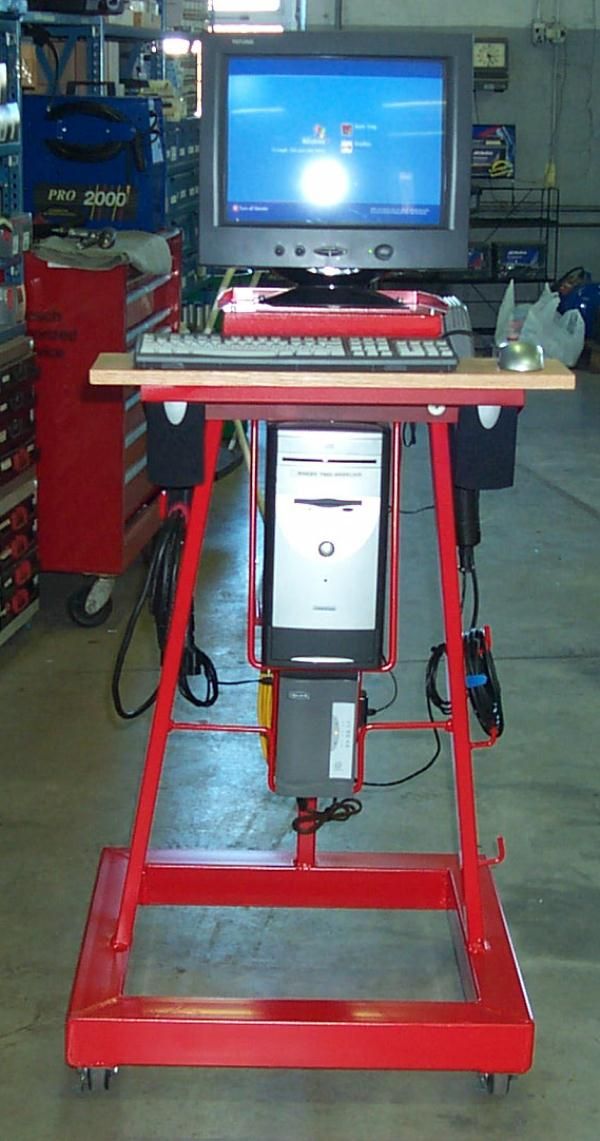
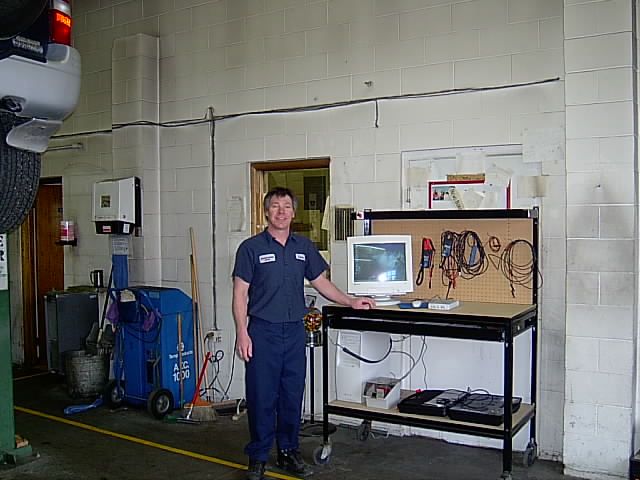
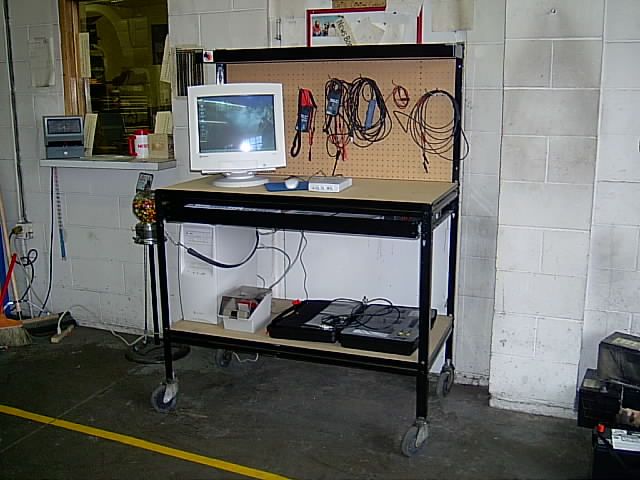
Thanks to Scott Porter for these pictures of his hand built desktop cart application:
Thanks to Romain D'Hont for this photo of his desktop cart application:
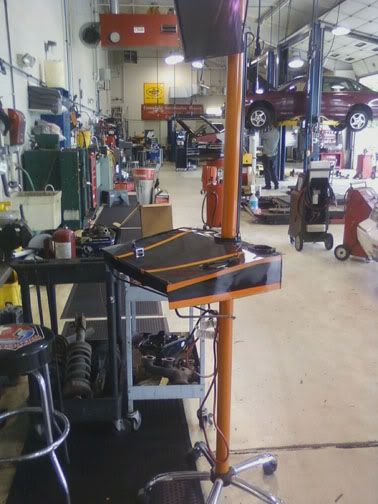
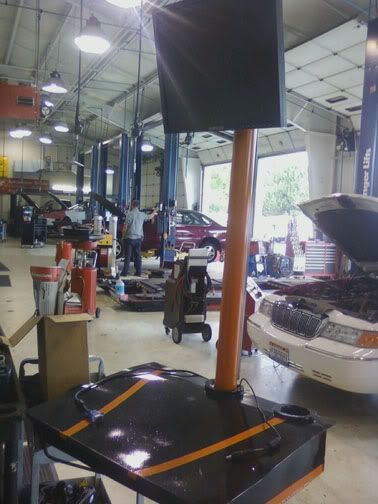
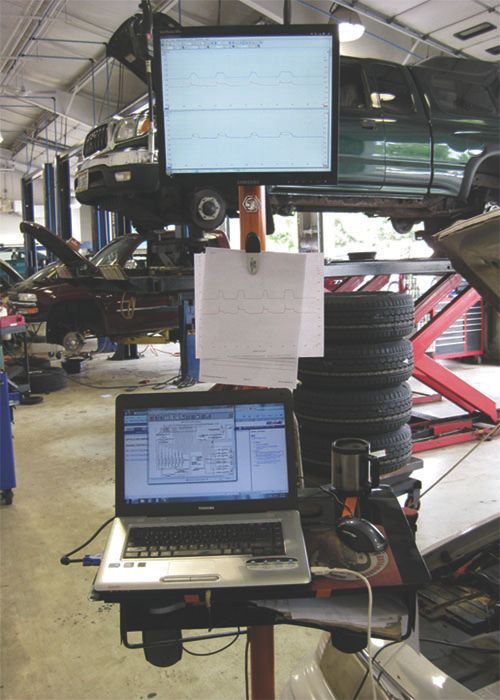
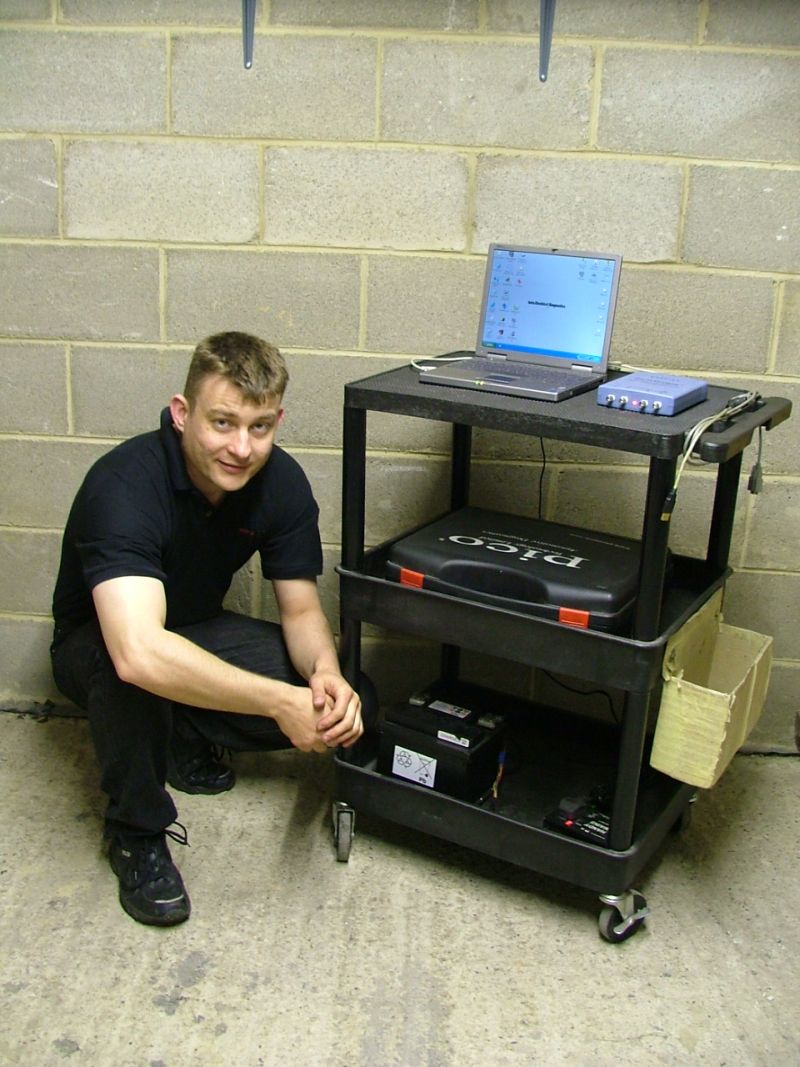
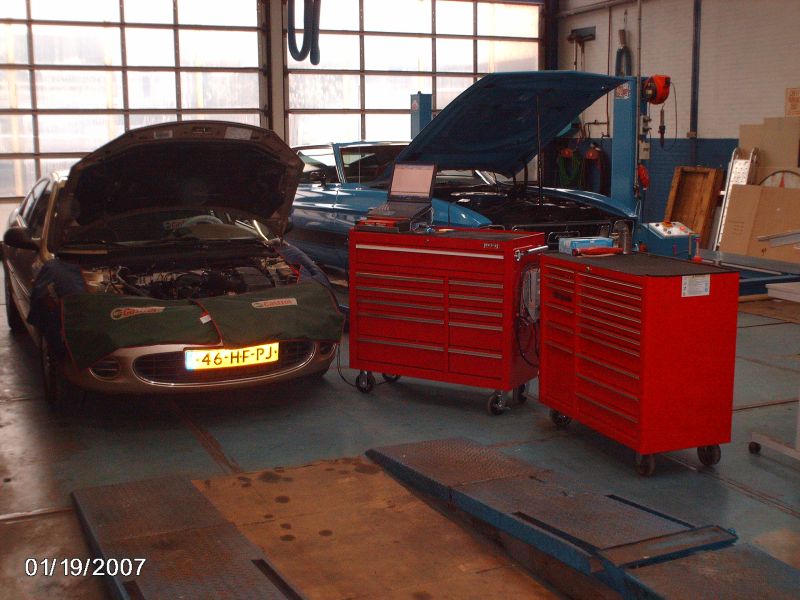
Thanks to Nick Hibberd for these pics of his handy laptop cart arrangement. Obviously used in a high performance application: :P
Note: (4/27/06) The original pictures were pulled and this one put in their place at Nick's request. The old ones showed Ferraris.
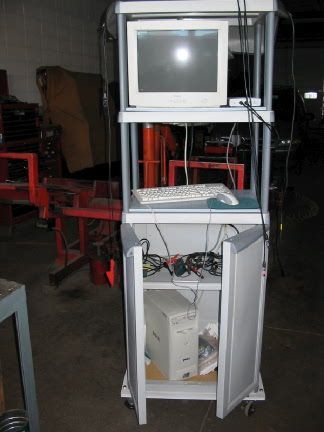
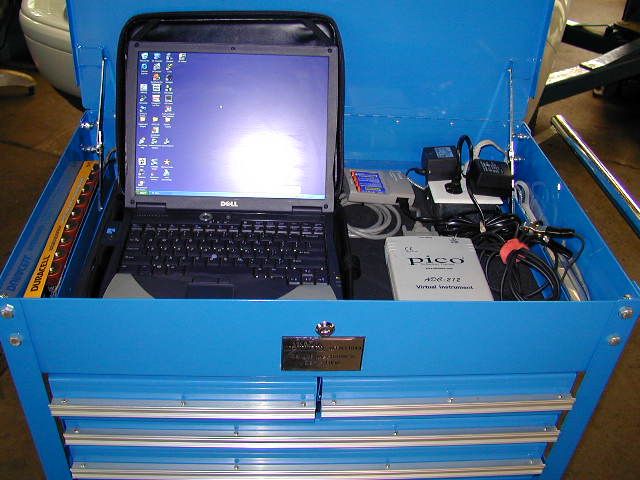
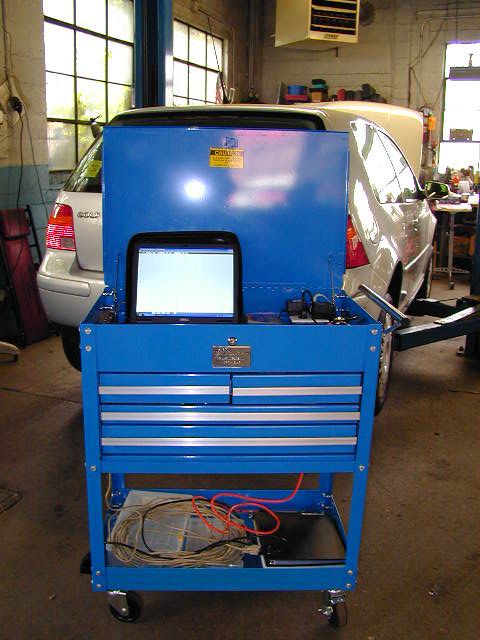
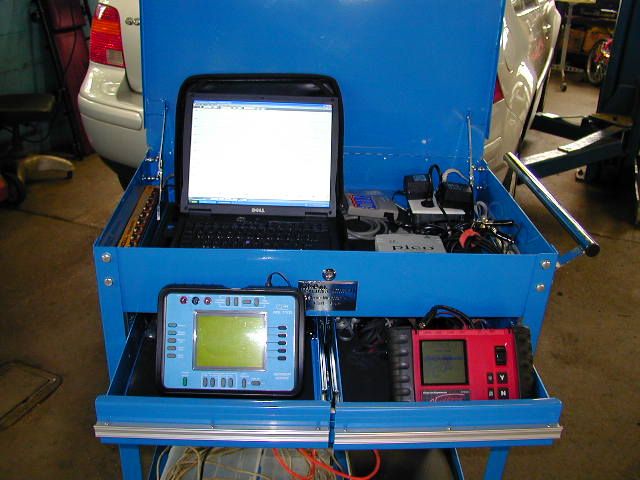
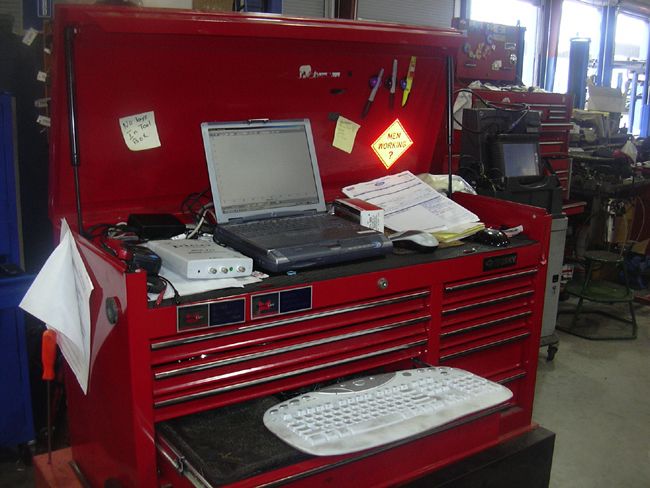
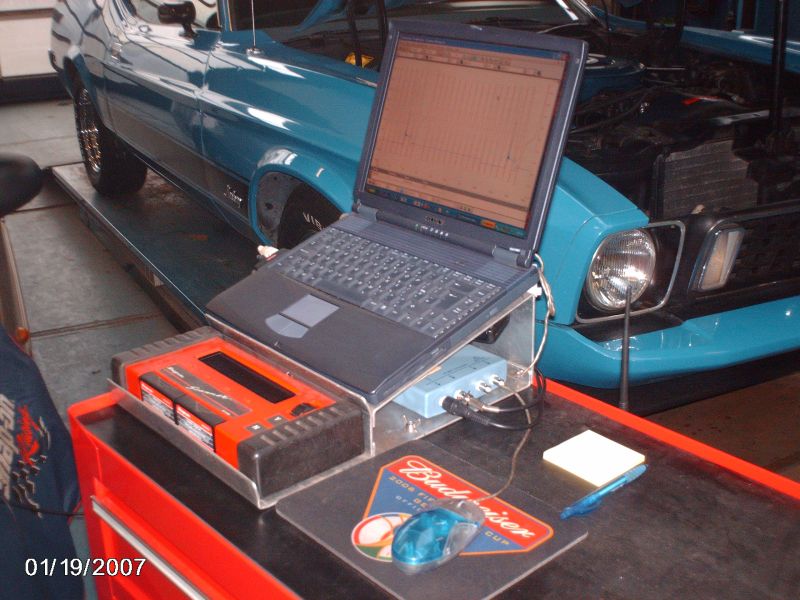
Thanks to Howard Pitkow for submitting this laptop cart application:
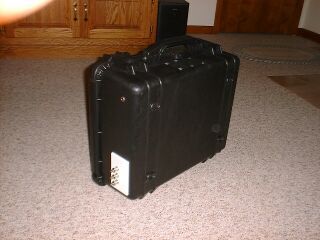
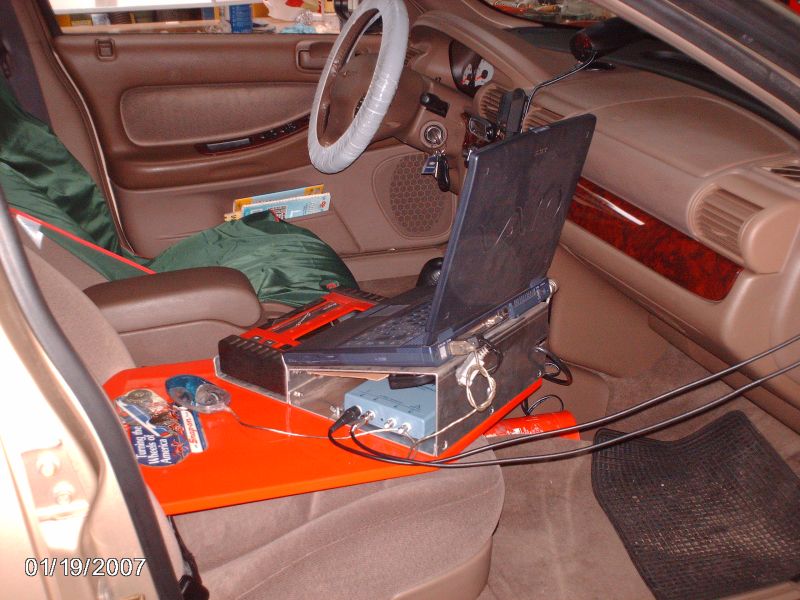
And last, but not least, Andy Chandler's self contained portable case setup. Thanks Andy:
If you have a setup you would like to share, feel free to add your setup to this gallery. I can host your pictures, if you like. Just email them to me.
8)
The PicoScope design lends itself to many different configuration approaches so it can be taylored to specific needs and existing equipment. It never ceases to amaze me how many different ways this equipment is being put to use. ;D
Thanks to Scott Porter for these pictures of his hand built desktop cart application:
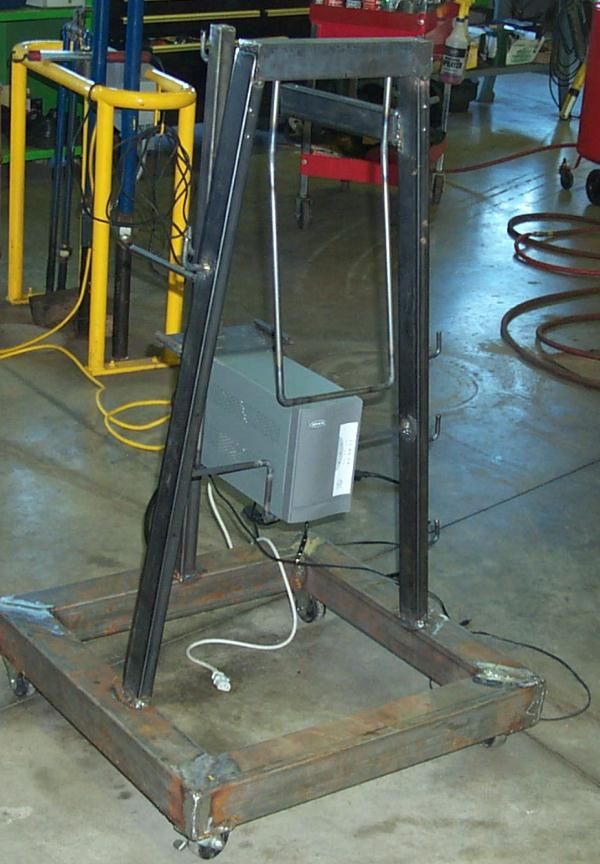
Thanks to Romain D'Hont for this photo of his desktop cart application:
Thanks to Nick Hibberd for these pics of his handy laptop cart arrangement. Obviously used in a high performance application: :P
Note: (4/27/06) The original pictures were pulled and this one put in their place at Nick's request. The old ones showed Ferraris.
Thanks to Howard Pitkow for submitting this laptop cart application:

And last, but not least, Andy Chandler's self contained portable case setup. Thanks Andy:

If you have a setup you would like to share, feel free to add your setup to this gallery. I can host your pictures, if you like. Just email them to me.
8)


 https://www.autonerdz.com/cgi/yabb2/YaBB.pl?action=downloadfile;file=PCMK-Dave_Sleuth__4-9-07.pdf (93 KB | 752
)
https://www.autonerdz.com/cgi/yabb2/YaBB.pl?action=downloadfile;file=PCMK-Dave_Sleuth__4-9-07.pdf (93 KB | 752
)